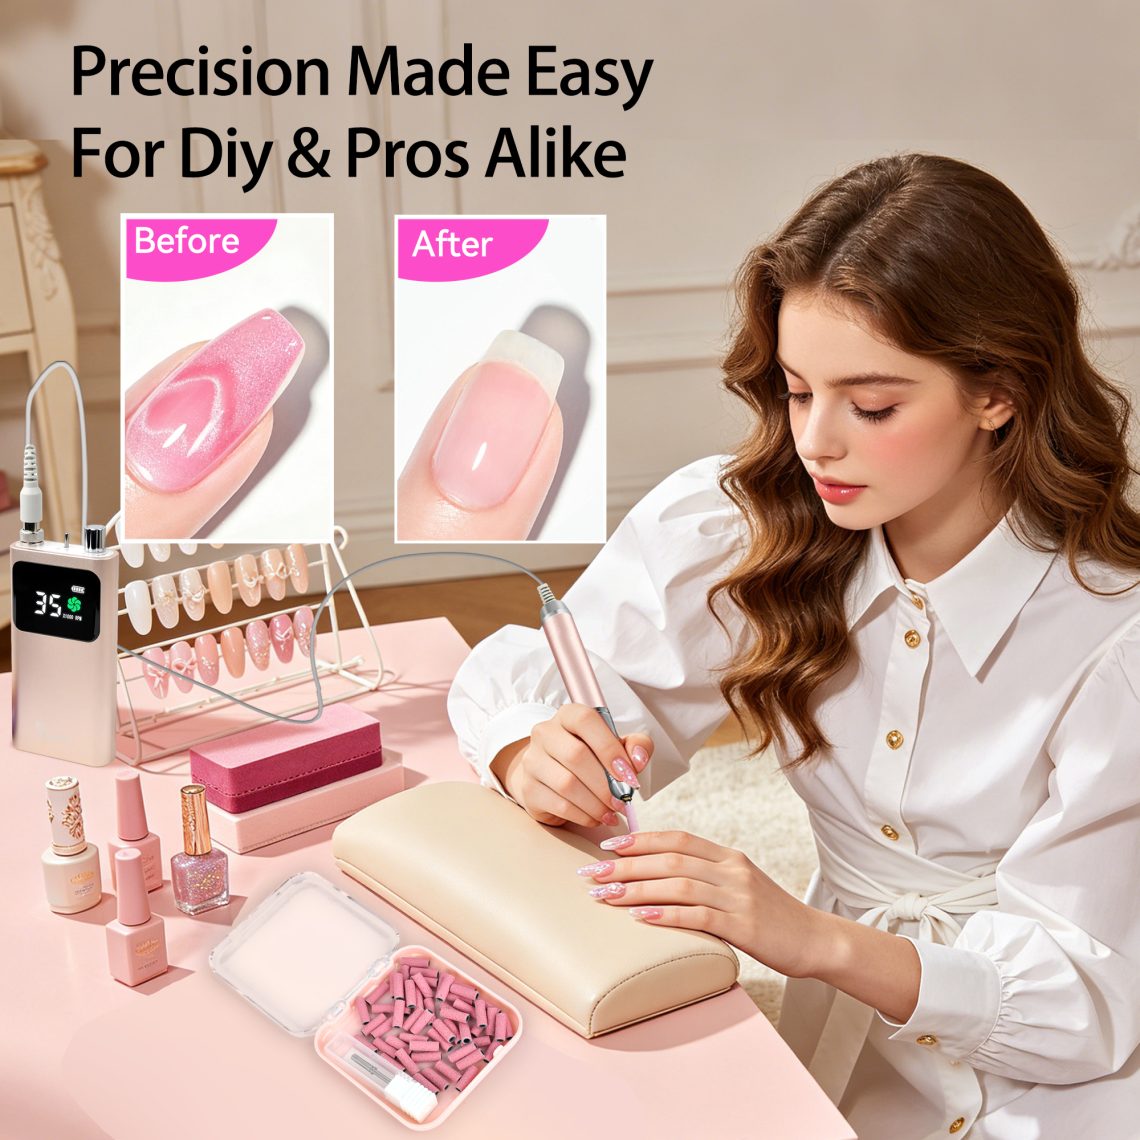
Acrylic nails are strong, durable, and beautiful, but at some point they need to come off. Removing them incorrectly is one of the fastest ways to damage the natural nail. Peeling, prying, or over-filing can leave nails thin, weak, and painful for months. Mini sanding bands offer a controlled, precise way to remove acrylic without causing unnecessary harm.
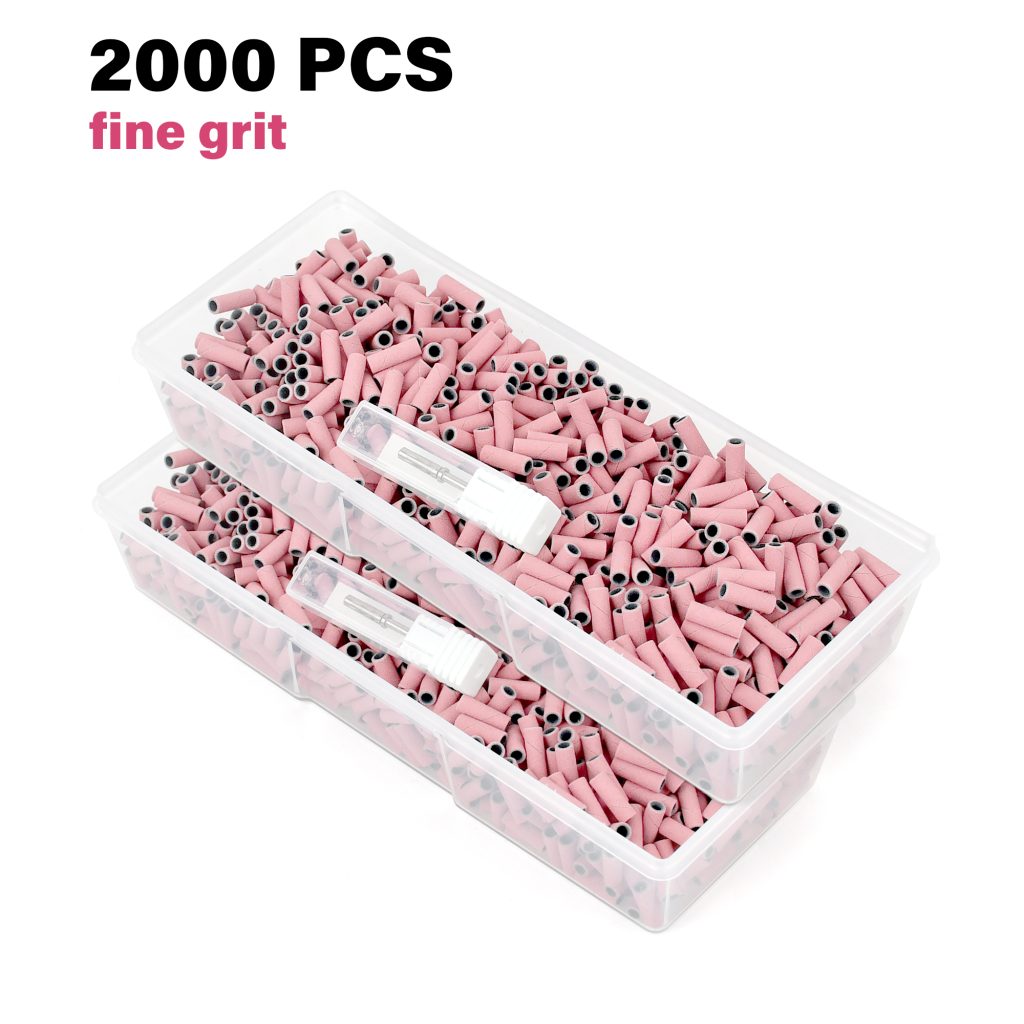
Mini sanding bands are small abrasive sleeves that fit onto a mandrel bit for an electric nail file. They are narrower than standard sanding bands, usually around 8 to 9 millimeters wide. This smaller size allows you to work close to the cuticle and sidewalls without touching the skin. They come in different grits, from coarse to fine, and they are disposable. Because they are single-use, they also support good hygiene.
Here is a complete guide to using mini sanding bands for acrylic removal, including tools, step-by-step technique, safety rules, and aftercare.
Why Use Mini Sanding Bands for Acrylic Removal?
Mini sanding bands are not the fastest tool for removing large amounts of acrylic. For thick enhancements, a standard coarse sanding band or a carbide bit is more efficient. However, mini bands excel at precision. They are ideal for refining the edges, cleaning around the cuticle, and thinning the product as you get close to the natural nail. Their small diameter gives you control that larger tools cannot match.
They also generate less heat than coarse metal bits when used correctly. Heat is one of the biggest risks during acrylic removal. It can burn the nail bed and cause permanent damage. Mini bands, used at low speed with light pressure, help keep the nail cool.
Finally, they are disposable. You use one band per client or per session and then discard it. This reduces cross-contamination and keeps your kit clean.
Tools You Will Need
Before you start, gather the right supplies:
- Electric nail file with adjustable speed
- Mandrel bit that fits mini sanding bands
- Mini sanding bands in coarse (80–100), medium (120–150), and fine (180–240) grits
- Nail clippers for shortening length
- Dust brush
- Dust mask and safety glasses
- Cuticle pusher
- Buffer block
- Cuticle oil
- Optional: 100% acetone, cotton balls, and foil for soaking off the final layer
- Optional: hand file for final smoothing
Step-by-Step Acrylic Removal with Mini Sanding Bands
Step 1: Prepare the Nails
Remove any polish with acetone-free remover. Wash your hands and dry them thoroughly. Use nail clippers to shorten the acrylic as much as possible. This reduces the amount of product you need to file and shortens the removal time.
Put on your dust mask and safety glasses. Acrylic dust is fine and can irritate your lungs and eyes. Work in a well-ventilated area.
Step 2: Choose the Right Grit
Start with a coarse mini sanding band, around 80 to 100 grit, for the bulk of the acrylic. This removes material quickly. Once you have reduced most of the thickness, switch to a medium band, around 120 to 150 grit, for controlled removal. For the final passes near the natural nail, switch to a fine band, around 180 to 240 grit.
Never use a coarse band on the natural nail. Coarse grit is for product only.
Step 3: Set the Speed
Set your e-file to a moderate speed for bulk removal, usually around 10,000 to 15,000 RPM. As you get closer to the natural nail, lower the speed to 5,000 to 8,000 RPM. Lower speed gives you more control and reduces heat.
Step 4: File with Control
Hold the e-file like a pencil. Rest your pinky on the client’s hand or on the table for stability. Keep the band flat against the nail surface. Use the belly or side of the band, not the tip. The tip can dig into the nail and create grooves.
Work in one direction. Start at the center of the nail and move toward the free edge. Then work the sides. Leave the cuticle area for last, because it is the most sensitive. Keep the band moving at all times. Never hold it in one spot for more than a second.
Use light pressure. Let the band do the work. Pressing down creates friction, heat, and removes too much material too quickly.
Step 5: Stop at the Thin Layer
As you file, watch the color and texture of the dust. Acrylic dust is usually white or pink. When you see a change in texture or a thin, clear layer remaining, stop. Do not file down to the bare natural nail. Leave a thin layer of acrylic or base product on the nail. This protects the natural nail plate.
Step 6: Remove the Remaining Layer
If a thin layer of acrylic remains, you can soak it off with acetone. File the top layer lightly, then soak cotton in 100% pure acetone. Place it on the nail, wrap with foil, and wait 10 to 15 minutes. Gently push the softened acrylic off with a wooden cuticle pusher. Never scrape or force it. If the acrylic does not soften, it may be a hard gel or a product that does not soak off. In that case, continue filing gently with a fine mini sanding band until only a thin layer remains.
Step 7: Smooth and Hydrate
Once the acrylic is removed, use a fine mini sanding band or a buffer block to smooth the nail surface. Remove all dust. Wash your hands. Apply cuticle oil generously to each nail and massage it in. Follow with a rich hand cream.
Safety Rules You Must Follow
Never use a coarse grit on the natural nail. Never press hard. Never hold the band in one spot. Never use a dull or worn band. Replace the band when it stops cutting efficiently. Always wear a dust mask. Always keep the band moving. Stop immediately if the client feels heat or pain. Heat is a warning sign that you are damaging the nail.
Common Mistakes to Avoid
Do not try to remove thick acrylic with only a fine band. It will take too long and generate heat. Do not skip the coarse stage. Do not file into the cuticle or sidewalls. Do not use the tip of the band to dig into the nail. Do not peel or pry the acrylic. Do not forget to hydrate after removal.
Aftercare
After acrylic removal, the natural nails may feel thin and sensitive. Keep them short while they recover. Apply cuticle oil daily. Use a nail strengthener if needed. Give your nails a break before applying a new set. Avoid harsh chemicals and prolonged water exposure. Be patient. Nails take four to six months to fully replace themselves.
Final Thoughts
Mini sanding bands are a precise and controlled tool for acrylic removal. They are not the fastest option for bulk removal, but they are excellent for detail work, refining edges, and thinning product safely near the natural nail. Used correctly, they help you remove acrylic without heat damage, over-filing, or trauma. Combine them with proper speed, light pressure, and constant motion. Always stop at a thin layer and never file down to the bare nail. With these habits, you can remove acrylic safely and keep the natural nail healthy underneath.
Read also: The Complete Guide to Dip Powder Nails: What They Are, How to Apply, and Why You’ll Love Them